
 Home
Home


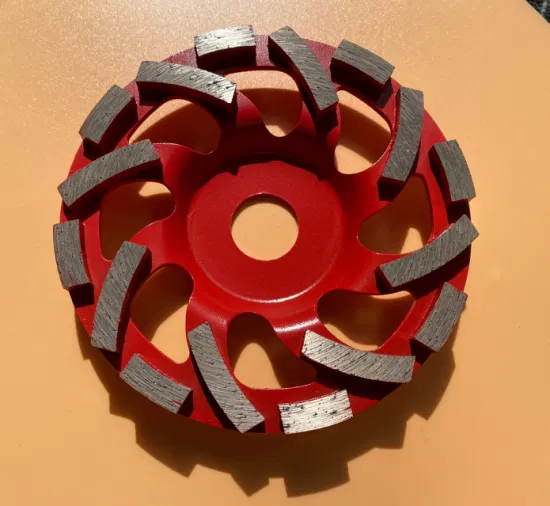
Jq Factory 98
Basic Info.
| Model NO. | 98-10 |
| Structure | Double Skin |
| Color | Green |
| Season | Autumn |
| Waterproof | Waterproof |
| Customized | Customized |
| Function | Multi Purposes |
| Fabric | Customized |
| Feature | Durability |
| Warraty | 3years -8years |
| Transport Package | Bag and Carton |
| Specification | 118KG, 0.42M3 |
| Trademark | NA |
| Origin | China |
| HS Code | 6306220090 |
| Production Capacity | 60000 Pieces |
Product Description
Product Description
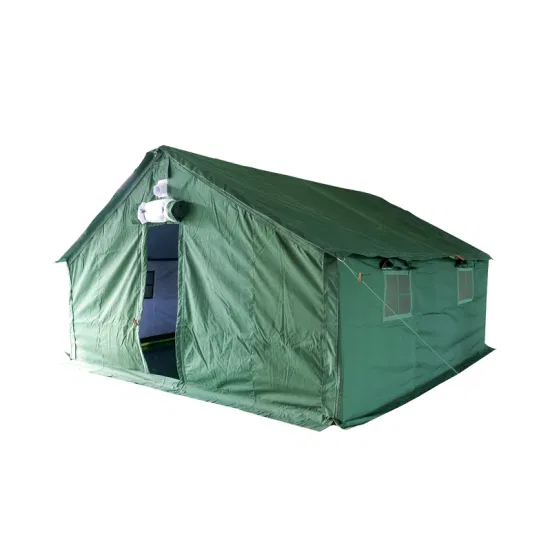
It is mainly used for accommodation and office
use of troops in cold areas under field conditions.
The tent surface fabric is made of 28×2/28×2
polyester grass green waterproof canvas, which
has excellent tensile, tear resistance, aging
resistance and rain resistance. The thermal
insulation layer is made of synthetic fiber needled
felt (thickness 3mm). The inner layer is13×1/13×1
polyester flame-retardant plain fabric. The normal
service life can reach more than 3 years.Operation Manual of Cotton Tent for Class 98-12
Detailed Photos
Certifications
Packaging & Shipping
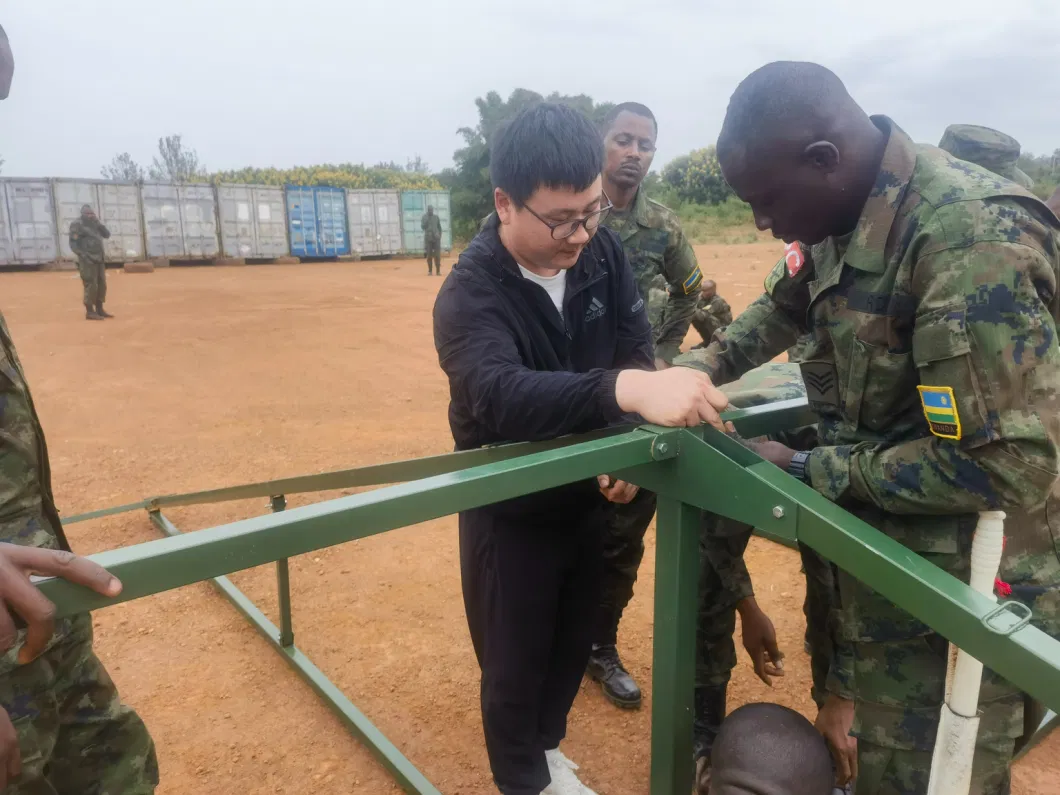
Installation Instructions
1. Purpose:It is mainly used for accommodation and office of troops in cold areas under field conditions.2.Main performance introduction:(1). The tent is a double-slope frame structure. See Figure 1 for the full view of the expansion state. The plane layout is shown in Figure 2.(2). The use area of the tent is 20.24m2, the total mass of packaging and transportation is 118kg, and the volume is 0.42m3.Figure 1 Overview of the unfolding state of "Cotton Tent for Class 98-12"Figure 2 Schematic diagram of the support of Cotton Tent for Class 98-123. The tent surface cloth is 28 × 2/28 × 2. The polyester grass green waterproof canvas has excellent tensile, tear resistance, aging resistance and rain resistance. The insulation layer is made of synthetic fiber needle felt (3mm thick). The inner layer isthirteen × 1/13 × 1 Polyester flame-retardant natural plain cloth. The normal service life can be more than 3 years.4. The tent structure is reasonable, safe and reliable. It can withstand force 8 wind, dead weight and 8 cm thick snow load.5. The tent is simple in structure and easy to remove. The erection can be completed by 6 people in 25 minutes, and the withdrawal can be completed by 6 people in 20 minutes.6.Classification, packaging and marking of tent parts:After all parts and components of each tent are classified and packaged, there are 3 pieces in total. See Table 1 for details.
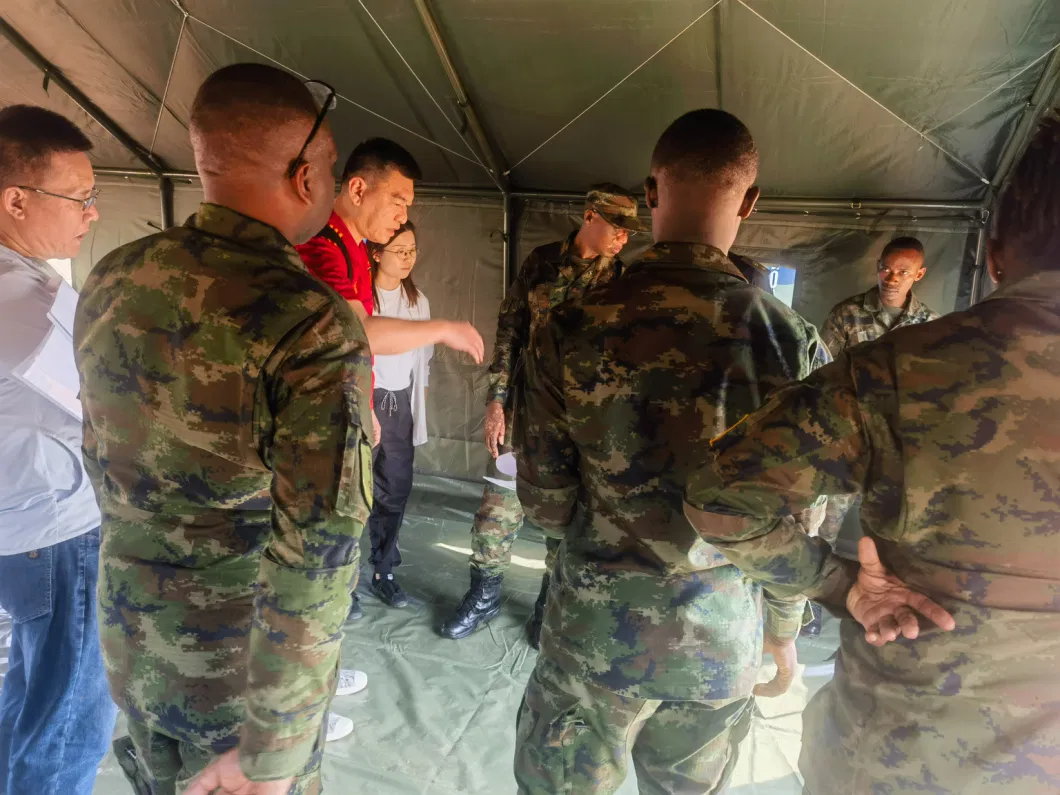
Company Profile

After Sales Service


Global Customers
Table 1 Detailed list of classified packaging of parts and components of Cotton Tent for Shift 98-12No. Name Quantity(piece) mass of single piece(kg) Total mass(kg)1 Roof 1 39.2 39.2 Front:Type 98-12 shift cotton tent(canopy, accessories)Mass 71kg Volume 0.36m3Package size: 1000 × six hundred × six hundredQinhuangdao Junqiang Clothing Co., LtdBoth ends: 3-1Pull rope and board 8 0.19 1.5Front gable 1 8.8 9.4Back gable 1 8.8 9.4Ground pile 8 1 8Hammer 1 1.5 1.5Pile bag 1 0.4 0.4Window panel 4 0.4 1.6Window panel pocket 1 0.2 0.2Canopy packaging bag 1 1.6 1.6Wire rope 3 0.3 0.92 Top frame 3 8.77 26.3 Front:Type 98-12 shift cotton tent(Top frame, column)Mass 34.5kg Volume 0.04m3Package size 2740 × one hundred and forty × one hundredBoth ends: 3 - 2Column 6 1.3 7.8Bag 1 0.56 0.563 Sandal6 1.96 11.76 Front:Type 98-12 shift cotton tent(purlin)Mass 12.5kg volume 0.02m3Package size 2150 × eighty-five × sixtyBoth ends: 3-3Bag 1 0.5 0.5Note: The total mass of three pieces is 118kg and the volume is 0.42m3.4.Erection and roll-up:(1) Single tent erection1. Select a relatively flat and hidden place, and clean the sundries, snow, stones, etc. on the ground where the tent is scheduled to be erected to make the site level.2. Open all packages and check the name and quantity of parts.3. Two people build a roof frame, pull out the columns, pull out all three roof frames in a triangle, and place them on the ground in parallel. Three people hold the three roof frames stable, and the other three people clip six purlins into the corresponding bayonet plate of the roof frame. At this time, the roof frame is stable, and the personnel can release their hands.4. Six people lift the roof and cover it on the top frame, and adjust the position with the ridge line and the middle roof as the axis. Then drive the ground pile at the corresponding position of the rope.5. Each of the six people holds a column. After lifting the frame, insert the column into the socket of the two supporting points of the top frame. Adjust the roof and properly tighten the pull rope (the pull rope should be symmetrical and cannot be pulled on one side of the tent to avoid damaging the tent).In case of strong wind, three people can pull the top of the canopy on one side. After the other three people adjust the length of the pull rope on the other side and hang it on the ground pile, quickly lift this side, insert the column, properly tighten the pull rope, and then go to the other side. Six people pull up the column in the same way and tighten eight pull ropes.Fasten the internal tie-wrap. Adjust the position of tie bar and chord bar in the roof, and tighten and fix them.6. Tie the internal chord bar of the wire rope, and tighten the upper and lower chord bars of the wire rope.7. Install the front and rear gables on the roof (the front gables are those with doors). The connection method between the aluminum canopy ring at the upper end and the ring sleeve on the canopy eave cloth is shown in Figure 3. Align the gable and the middle of the fence, and start to wear a sleeve to connect. After the binding is completed, tie the column binding belt of each column, and install the window glass.8. Compaction shall be carried out on the soil cloth and simple drainage ditch shall be built.9. Adjust the position of tarpaulin, column and tension of pull rope to make the tent stretch and flat.(2) Withdrawal1. The method and steps of roll-up are in reverse order with the erection.2. According to the package size, fold the tarpaulin, and bind the tarpaulin frame according to the aforementioned list of classified packaging of tent components.3. According to the detailed list of classified packaging of tent components, check the components in each package, put them into the packaging bag in turn after verification, and wrap the packaging bag after proper shaping.Figure Schematic diagram of the connection between the three-ring sleeve and the aluminum canopy ring(3) When two tents are used in combination, they shall be erected and withdrawn.1. Install the awnings of the two tents according to the above steps of erecting 1, 2, 3, 4 and 5 single tents. After each of them is installed, the back wall will close the two tents to the back wall, and the pull ropes of the two peaks will be removed. Put the drip eaves of one tent on the drip eaves of the other, and make the nylon buckles at the same place crimp each other. At the same time, move the pull rope at the two cornices of the canopy to the adjacent triangle ring. Drive 4 ground piles at corresponding positions.2. Six people stand on one side, each with a column, and erect the column on this side according to the method in Step 6 above, and then erect the column on the other side in the same way, and adjust the position of the tent to make the distance between the two tent gables close to about 13cm. Tighten the pull rope moderately. Note that the pull rope at the junction of the two tents is staggered, so as to close the two tents together. Do not use too much force on the pull rope at both ends of the mountain.3. Complete the above steps of erecting single tent in 6, 7 and 8.5.Precautions:1. When erecting or withdrawing, do not drag the tarpaulin on the ground to avoid soiling and tearing the tarpaulin.2. Pay attention to protection during use to keep the inside and outside tarpaulin clean.3. After rain, snow and strong wind, check the roof and surrounding ground for water accumulation, snow accumulation and loose and falling of pull rope. If any, clean and adjust it in time to ensure that the tent is in normal use.4. The damp tent is not allowed to be stored for a long time. It must be dried in time before packaging and storage.5. The tent parts and components shall not be used for other purposes, and the purlins and other tarpaulin load-bearing components shall not be used for prying and lifting.6. The packaging bag and hammer of the tent shall be properly kept with the tent and shall not be lost for the next use.